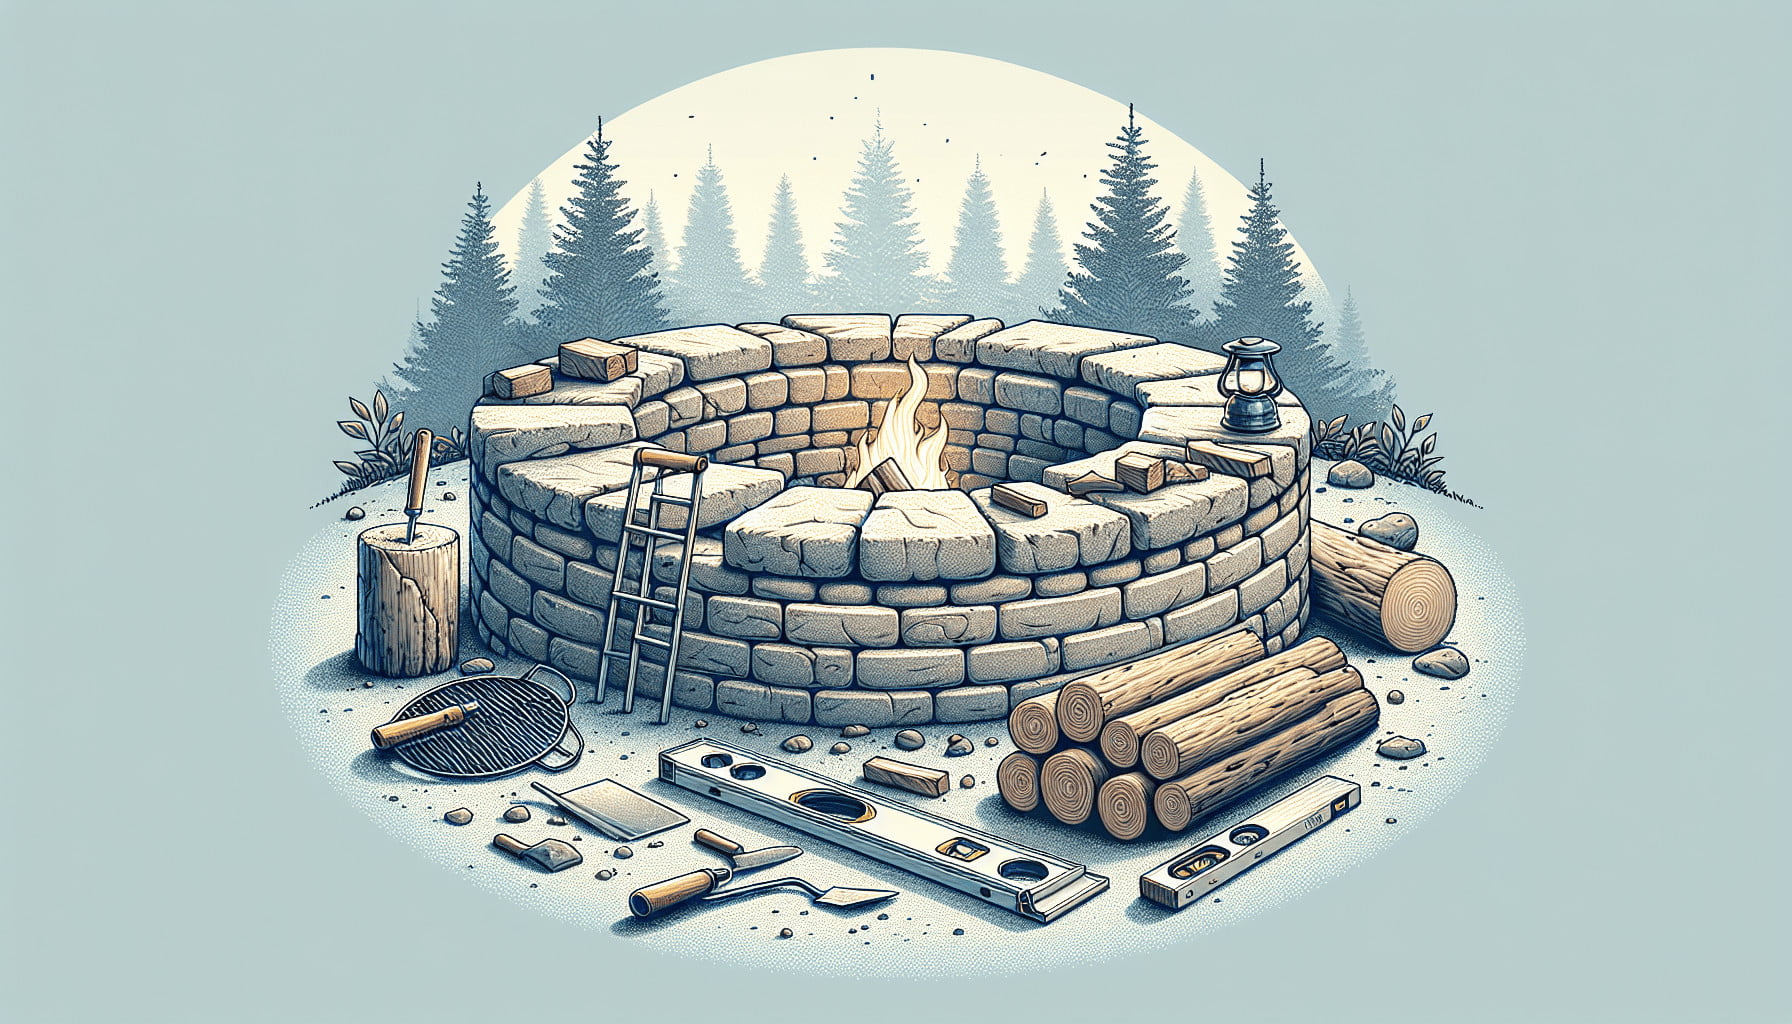
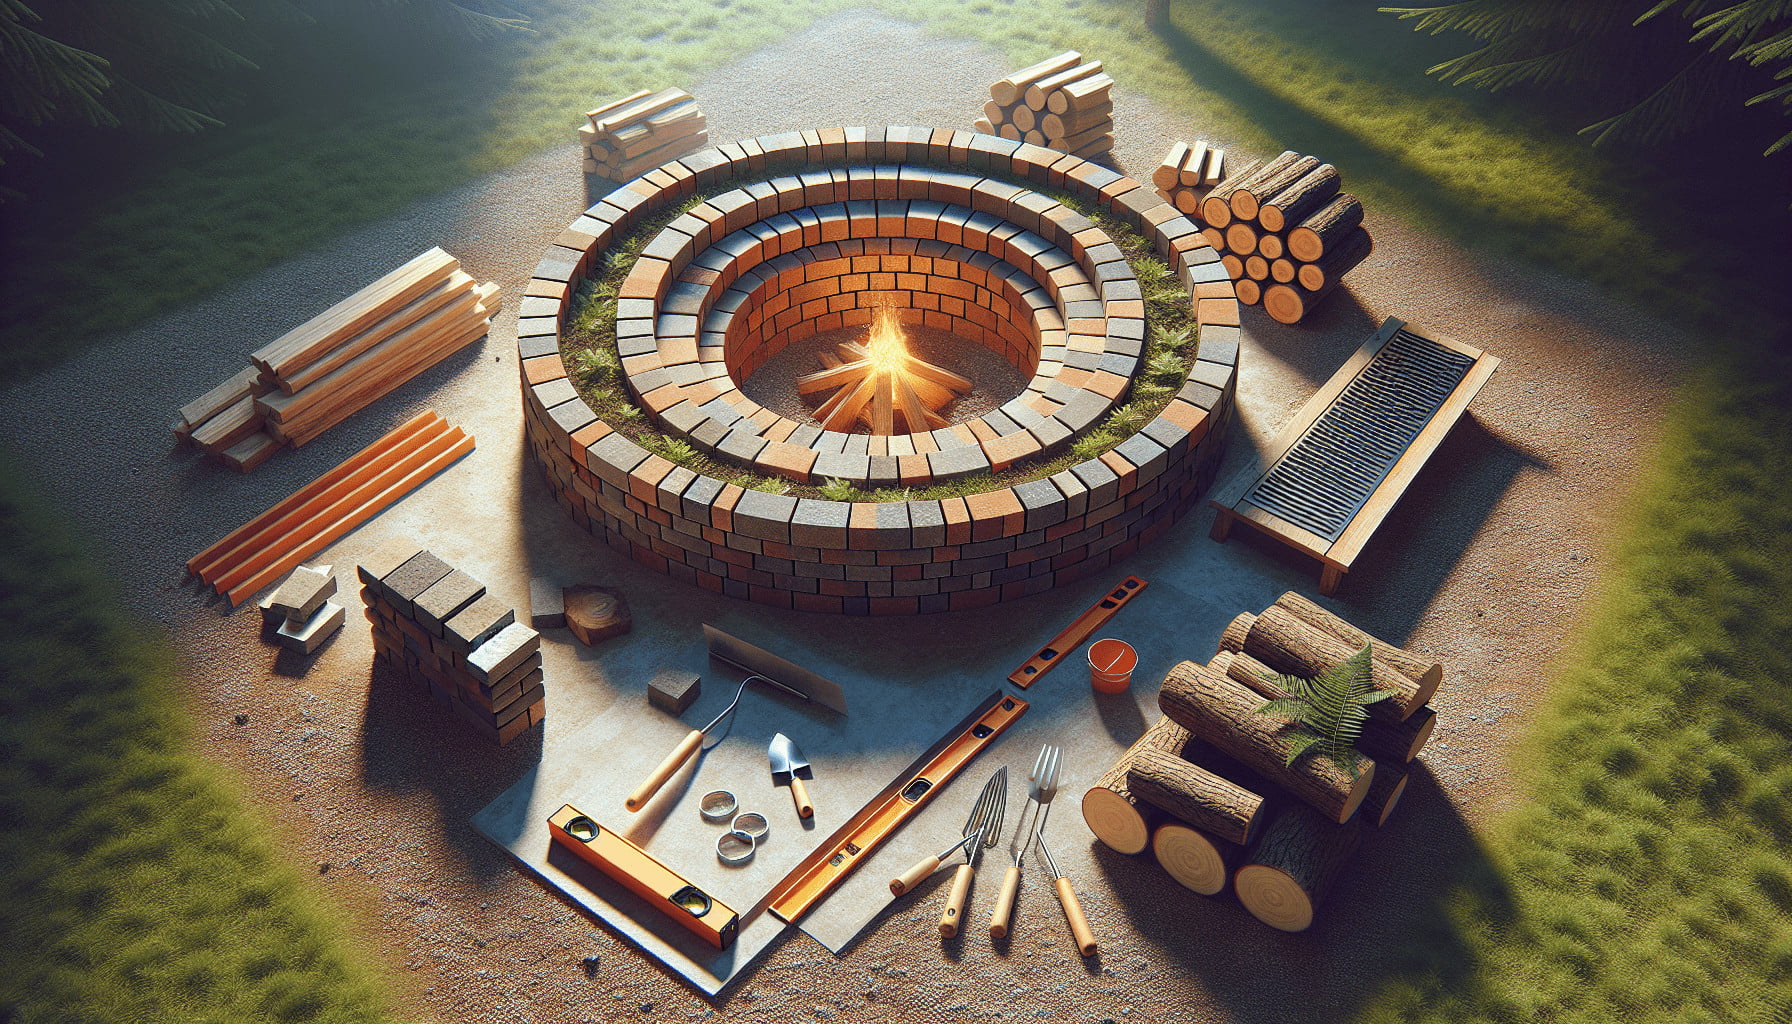
Have you ever thought about extending your outdoor cooking repertoire beyond the grill? Building a raised fire pit for campfire cooking can open up an entirely new world of culinary possibilities. Imagine roasting marshmallows, grilling steaks, or stewing veggies over an open flame right in your backyard. Sounds exciting, doesn’t it? Let’s walk through the steps to create your very own raised fire pit for campfire cooking.
Why Choose a Raised Fire Pit?
A raised fire pit offers several advantages. First, it’s much safer than a ground-level fire pit because it reduces the risk of the fire spreading unintentionally. Second, a raised design can prevent accidental trips and falls, particularly in the evening when visibility might be low. Finally, a raised fire pit is visually striking and can double as a focal point in your outdoor space. This makes it not only functional but also a stylish addition to your yard.
Planning Your Raised Fire Pit
Consider the Location
Choosing the right location is vital. Ideally, the fire pit should be in an open area, away from overhanging tree branches, your house, or other structures. Additionally, make sure the spot you choose is flat and free of any debris or flammable materials.
Checklist for an Ideal Location:
- At least 10 feet away from any structure
- Flat, even ground
- No overhanging branches
- Easily accessible
- Sheltered from strong winds, if possible
Permits and Safety Regulations
Before you start digging, check with your local municipal office to see if there are any permits required for building a fire pit in your area. Some regions have strict guidelines regarding fire safety, which you’ll need to adhere to, to ensure your fire pit is compliant with local fire codes.

Materials You’ll Need
List of Materials
Here’s a comprehensive list of what you’ll need to build your raised fire pit:
| Material | Quantity |
|---|---|
| Firebricks | ~50 |
| Steel Fire Pit Ring | 1 |
| Gravel | ~1 ton |
| Sand | ~1 bag |
| Cement | ~3 bags |
| Shovel | 1 |
| Level | 1 |
| Rubber Mallet | 1 |
| Protective Gloves | 1 pair |
| Trowel | 1 |
| Water Source (like a hose) | 1 |
Tools Needed
Make sure you have these tools handy:
- Shovel
- Trowel
- Level
- Rubber Mallet
- Measuring Tape
- Protective Gloves
Having the right tools and materials ready will save you a lot of time and effort during the construction process.
Step-by-Step Guide to Building Your Raised Fire Pit
Step 1: Prepare the Base
Start by outlining the area where you plan to build your raised fire pit. Use spray paint or a rope to mark the shape and size. The most common shapes are circular or square. Once you’ve marked the area, dig out the space to a depth of about 6 inches.
Tips for Preparing the Base:
- Make sure the dug-out area is level.
- Compact the soil to ensure a stable base.
Step 2: Add Gravel and Sand
Add about 4 inches of gravel into your dug-out area. Use a tamper or a piece of plywood and a mallet to pack the gravel down firmly. This step ensures proper drainage and a stable foundation. Follow up by adding a 1-inch layer of sand on top of the gravel, which will serve as a level base for your firebricks.
Step 3: Lay the First Row of Bricks
Place your first row of fire bricks around the perimeter of your marked area. Use a level to make sure that each brick is even with the others. The first row is crucial as it sets the foundation for the rest of your fire pit structure.
Step 4: Continue Building Upward
Layer more bricks on top of the first row, staggering the seams for added stability. Apply a thin layer of cement between each brick to bond them together securely. Continue this process until you’ve reached your desired height, typically around 18-24 inches.
Important Considerations:
- Make sure to check the level of each row.
- Allow each row of bricks to dry for a few minutes before adding another layer.
Step 5: Install the Steel Fire Pit Ring
Once you’ve reached the desired height of your fire pit wall, it’s time to install the steel fire pit ring. The ring helps to contain the fire and prevents the bricks from getting too hot and cracking over time. Simply place the ring inside the brick structure and ensure it fits snugly.
Step 6: Fill the Interior with Gravel
With the steel ring in place, fill the interior of your fire pit with more gravel. This added layer will provide a consistent and level base for your firewood and will aid in drainage.
Step 7: Final Touches
To complete the look, apply a thin layer of sand on top of the gravel inside the fire pit. This adds an extra layer of protection and helps to keep the fire contained.

Tips for Using Your Raised Fire Pit
Firewood and Kindling
When it comes to using your fire pit, the type of firewood you choose matters. Hardwoods like oak or hickory burn slower and produce more heat compared to softwoods like pine. Always use dry, seasoned wood to minimize smoke and make sure your kindling is small enough to catch fire easily.
Cooking Accessories
To make the most out of your new raised fire pit, consider investing in some cooking accessories like a grill grate, skewers, or even a cast iron pot for stews and soups. Many of these accessories are designed to withstand the high heat of an open flame and can add versatility to your outdoor cooking setup.
Safety Measures
Here are some safety tips to keep in mind:
| Do’s | Don’ts |
|---|---|
| Keep a bucket of water nearby | Leave the fire unattended |
| Use long-handled tools | Use flammable liquids to start the fire |
| Ensure the fire is fully out | Throw garbage into the fire |
| Supervise children and pets | Build a fire under overhanging branches |
Your safety and the safety of those around you should always come first. Following these simple guidelines can ensure that everyone has a good time without any unfortunate incidents.
Maintenance and Care
Regular Cleaning
To keep your fire pit in top condition, regular cleaning is essential. Remove ashes and debris after each use. This prevents buildup, which can affect the longevity of your fire pit.
Check for Damage
Inspect the fire pit regularly for any signs of wear and tear. Cracked bricks or a worn-out steel ring should be replaced promptly to ensure safety and efficiency.
Seasonal Care
During rainy seasons or extended periods of non-use, consider covering your fire pit with a weather-resistant cover. This will help protect it from the elements and prolong its lifespan.
Reapply Sand and Gravel
Over time, the sand and gravel inside your fire pit may shift or compact. Reapply as necessary to maintain a level surface and ensure proper drainage.
The Joy of Campfire Cooking
There’s something profoundly satisfying about cooking over an open flame. Whether it’s the nostalgic taste of s’mores or the rich, smoky flavor of grilled meats, campfire cooking brings a unique touch to your meals. By following the steps outlined in this guide to build your own raised fire pit, you’ll not only create a functional cooking area but also a gathering spot for countless outdoor memories.
Experiment with Recipes
Once your fire pit is up and running, experiment with different recipes. Campfire cooking isn’t just limited to roasting marshmallows or hot dogs; you can cook anything from foil-wrapped veggies to delicate fish fillets. The key is to control the heat and use the right cooking tools.
Social Benefits
A fire pit is not just a cooking tool but also a social hub. Friends and family will be drawn to the warmth and ambiance, making it an ideal setting for gatherings. Whether it’s an intimate evening or a lively party, your fire pit will undoubtedly be a central feature.
Troubleshooting Common Issues
Even with the best planning, you may encounter some challenges when building or using your raised fire pit. Here are a few common issues and their solutions:
Issue: Uneven Ground
Solution: Use a level to check the ground before you start. If it’s uneven, add or remove soil to achieve a flat surface.
Issue: Bricks Shifting
Solution: Make sure you’re staggering the seams and applying enough cement between each brick. If issues persist, allow more drying time between layers.
Issue: Smoke Issues
Solution: Ensure you’re using dry, seasoned wood. Wet or green wood creates more smoke. Also, make sure there’s adequate airflow around the fire pit.
Issue: Fire Not Staying Lit
Solution: Begin with small kindling and gradually add larger pieces of wood. Ensuring proper airflow and not overloading the fire are key.
Quick Troubleshooting Guide:
| Problem | Possible Cause | Solution |
|---|---|---|
| Smoke | Wet wood, poor airflow | Use dry wood, improve airflow |
| Fire dies quickly | Improper wood arrangement | Start with kindling, add gradually |
| Bricks shifting | Insufficient cement | Use more cement, allow drying time |
Conclusion
Building a raised fire pit for campfire cooking is not only rewarding but also adds a functional and aesthetic element to your outdoor living space. By following these steps and tips, you can create a safe, sturdy, and stylish fire pit that will be the centerpiece of many gatherings and memorable meals. Get ready to embrace the joys of outdoor cooking and create lasting memories around the comforting crackle of your own fire pit.
