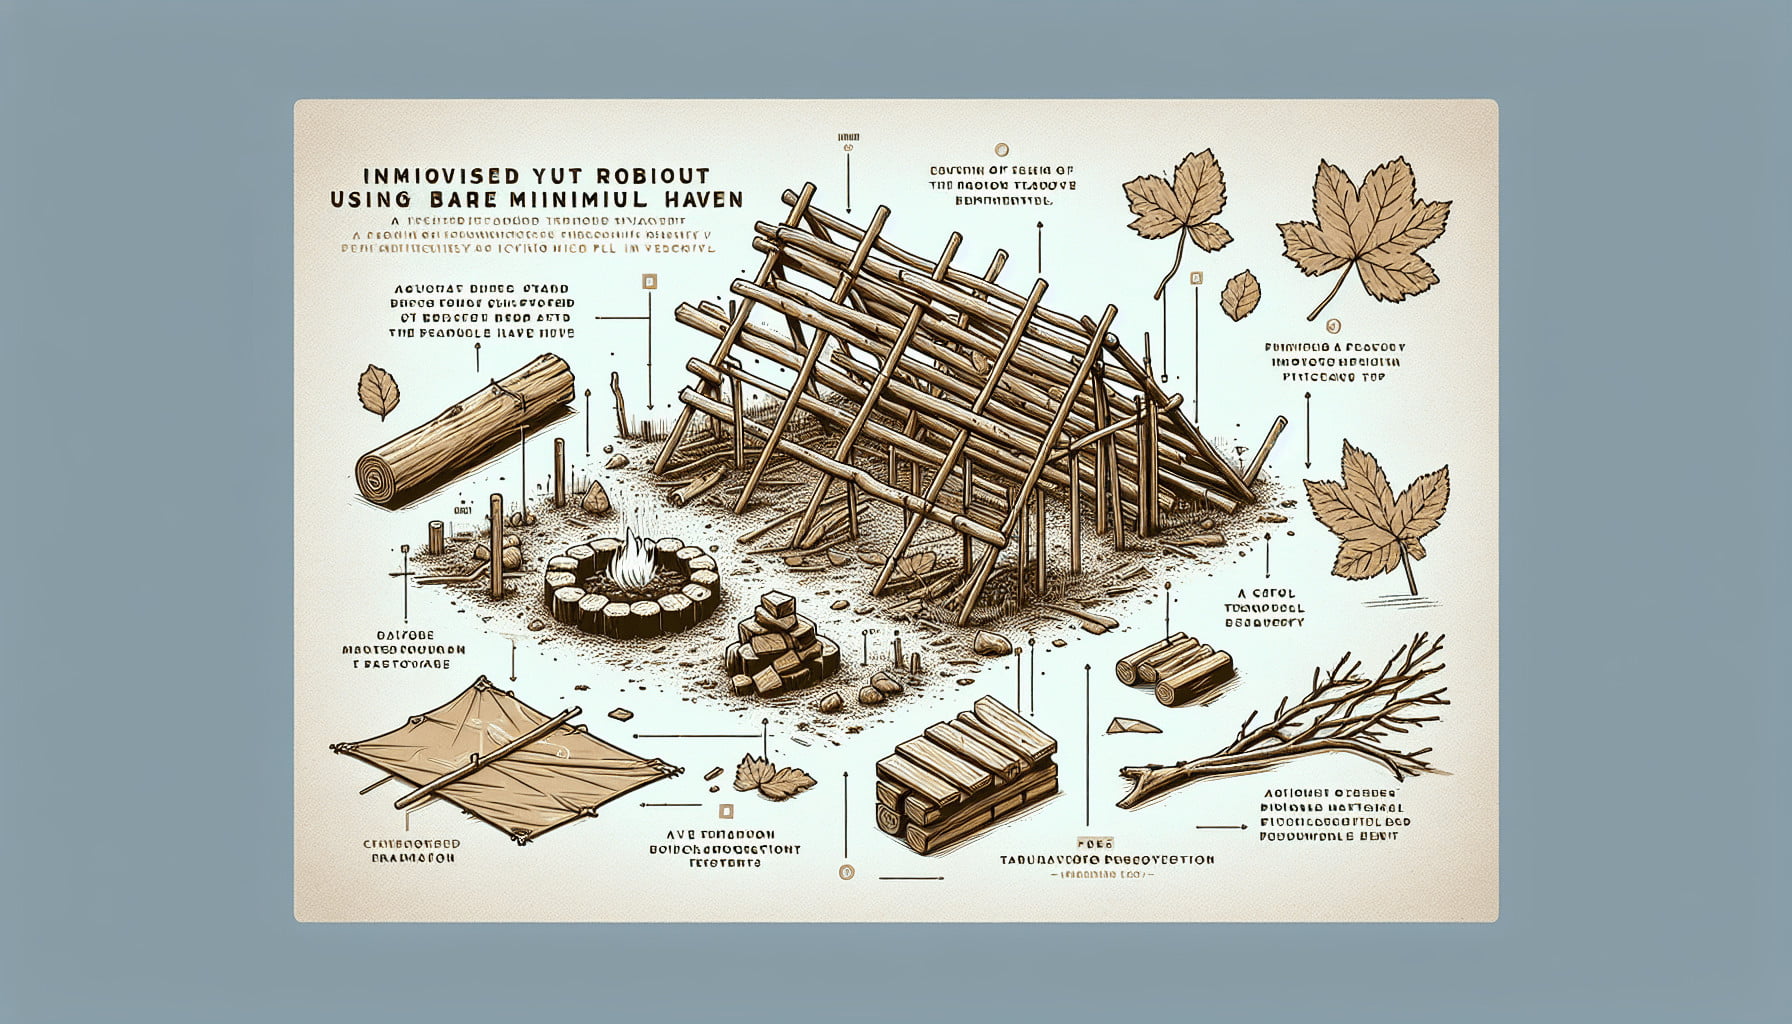
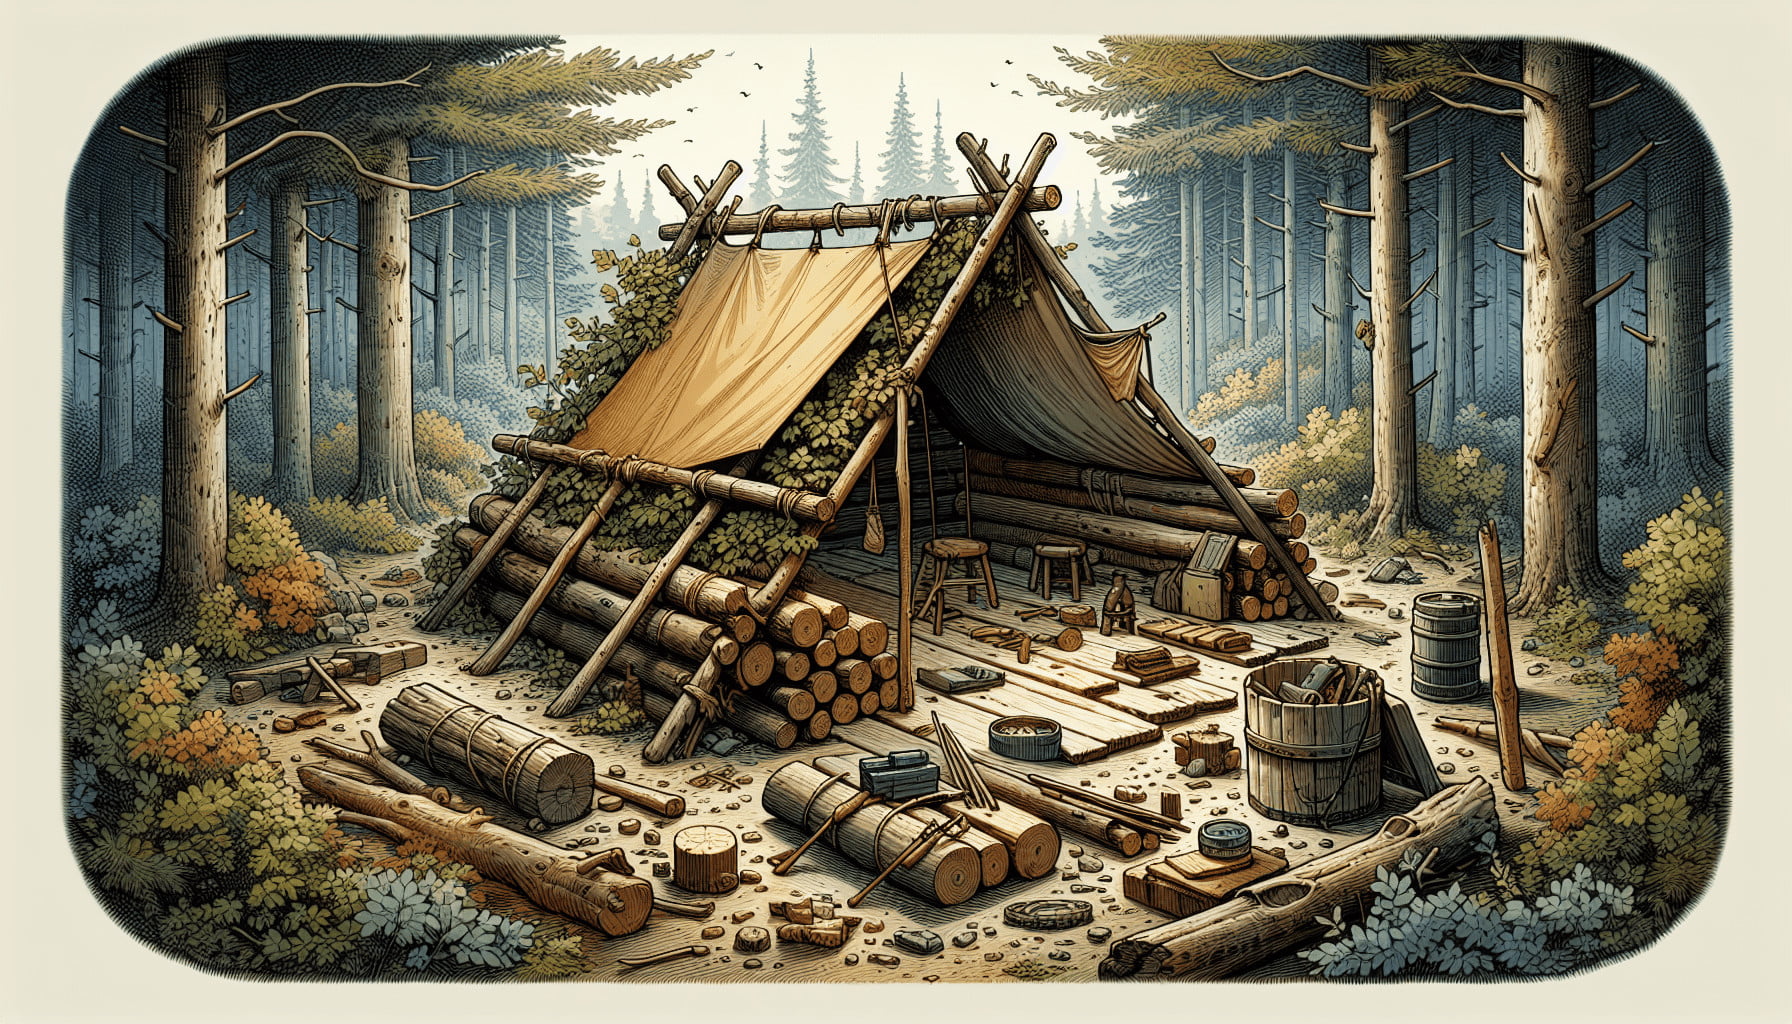
In “Building A Shelter With Limited Resources,” you’ll discover practical and creative techniques to construct a safe haven using whatever materials you have at your disposal. As you dive into the article, you’ll learn to assess your environment, prioritize essential supplies, and utilize clever construction methods. Whether you’re an outdoor enthusiast or preparing for an emergency, this guide will equip you with the knowledge to build a sturdy shelter in tough situations. With a touch of ingenuity and resourcefulness, you’ll be able to create a secure space, ensuring your safety and comfort even when resources are scarce. Have you ever found yourself in a situation where you needed to build a shelter but had limited resources? Whether you’re camping, surviving in the wilderness, or preparing for an emergency, knowing how to construct a sturdy shelter with minimal supplies is an invaluable skill. Let’s delve into the fundamentals of building a shelter with limited resources to ensure you are well-prepared for any situation.
Understanding Your Environment
Before gathering materials or starting construction, one of the first critical steps is understanding your environment. Your environment will determine the type of shelter you need and the materials you can use.
Climate Considerations
Your climate dictates the kind of shelter suitable for weather protection.
- Cold Weather: Insulation is your primary concern. Snow and dead foliage can be useful.
- Hot Weather: Shade and ventilation are critical. Look for large leaves and open areas.
- Rainy Conditions: Waterproofing and elevation are essential. Search for tarpaulins or leaves to create a rain-resistant roof.
Terrain and Ground Conditions
The terrain you choose for your shelter also plays a vital role.
- Flat terrain: Ideal for most shelters and minimizes water runoff.
- Elevated Areas: Useful for avoiding marshy ground and potential flooding.
- Proximity to Resources: Stay near water and potential food sources, but ensure you’re not too close to hazards like rivers that may flood.
Choosing The Right Shelter Type
There are several different shelters you can build depending on your needs and environment. Below are some of the most common types you might consider.
Lean-to Shelter
A lean-to is one of the simplest and most effective shelters to build. It’s excellent for protection against wind and rain.
Materials
- Sturdy branches
- Smaller sticks
- Leaves or tarp
Construction Steps
- Find two sturdy trees approximately 6-8 feet apart.
- Place a long branch horizontally between the trees, securing it at about shoulder height.
- Lean smaller branches against the main branch, forming a 45-degree angle.
- Cover the leaned branches with leaves, debris, or a tarp for added protection.
A-Frame Shelter
An A-frame shelter offers more coverage and is particularly useful in colder climates.
Materials
- Long branches or poles
- Smaller sticks
- Leaves, foliage, or tarpaulin
Construction Steps
- Find two solid trees spaced about 5-6 feet apart.
- Place a branch horizontally between them at waist height.
- Lean other branches along both sides of the horizontal branch to form an ‘A’ shape.
- Cover the branches with leaves or a tarp for insulation against the elements.
Debris Hut
A debris hut provides excellent insulation and is suitable for colder weather conditions.
Materials
- Two long branches
- Smaller sticks
- Leaves and other insulating debris
Construction Steps
- Create a ‘Y’ shape by propping one long branch horizontally across the other leaning branch.
- Lay smaller sticks along both sides of the main branch, forming a steep angle.
- Cover the structure with leaves, grass, and other insulating material to retain heat.
Tarp Shelter
If you’re lucky enough to have a tarp, this is one of the quickest and most versatile shelters you can create.
Materials
- Tarp
- Para cord or rope
- Stakes or sturdy sticks
Construction Steps
- Secure one side of the tarp between two trees at chest height.
- Pull the other side of the tarp outwards and secure it to the ground with stakes or heavy stones.
- Adjust the height and tension to ensure water runoff and proper coverage.

Gathering Materials
With your environment and shelter type selected, the next step is gathering materials. Efficient material collection can save time and effort.
Natural Resources
Make the most of what nature offers:
- Branches: These will serve as the main support structure.
- Leaves and Foliage: Useful for insulation and waterproofing.
- Rocks and Stones: Can help secure your structure and create barriers.
Man-Made Resources
Don’t overlook the possibility of finding helpful man-made materials:
- Discarded Tarps or Plastics: Excellent for quick coverage.
- Rope or Cord: Often found easily and invaluable for securing your shelter.
Tools You May Need
While you can accomplish much with bare hands, certain tools can ease the process.
| Tool | Purpose |
|---|---|
| Knife | Cutting branches and foliage |
| Axe or Hatchet | Chopping wood |
| Shovel | Digging and clearing ground |
Material Collection Tips
- Safety First: Always be cautious when handling sharp tools or moving large objects.
- Work Efficiently: Gather more than you think you need to save multiple trips.
- Preserve Environment: Only collect what you need.
Construction Techniques
Once you’ve gathered your materials, it’s time to start constructing your shelter. Here are some helpful techniques to make building easier and more effective.
Building the Foundation
A strong foundation is key to a sturdy shelter.
- Clear the Area: Remove rocks, sticks, and other debris from your chosen site.
- Flatten the Ground: Make the area as level as possible to avoid discomfort and water collection.
- Elevate if Necessary: In wet environments, build on a slight incline.
Creating the Frame
The frame is the skeleton of your shelter. Here are the general steps:
- Anchor Points: Start by securing your main support beam (horizontal pole or the lean-to beam).
- Cross Beams: Attach cross beams to form the roof structure.
- Secure Connections: Use rope or vine to securely fasten joints.
Insulating and Waterproofing
The essential step to ensure comfort and protection from the elements.
- Layering: Use layers of leaves, branches, and foliage for insulation.
- Covering: Use a tarp or additional leaves to waterproof your structure.
- Sealing: Stuff gaps with moss or small leaves to prevent drafts and water ingress.

Fire and Warmth
Your shelter might be exceptional, but warmth and safety from the cold is equally vital. Let’s explore this a bit more.
Building a Fire
Fire not only provides warmth but also scares away animals and offers a means to cook food.
Fire Building Essentials
| Material | Purpose |
|---|---|
| Tinder | Quick to ignite, like dry leaves |
| Kindling | Small sticks to help grow the fire |
| Fuelwood | Larger logs for long-lasting fire |
Steps to Build a Fire
- Gather Materials: Collect tinder, kindling, and fuelwood.
- Choose Location: Select a safe area away from your shelter and overhanging branches.
- Create a Fire Bed: Clear the area of debris and arrange stones in a circle to create a bed for your fire.
- Build the Fire: Start with tinder at the base, then add kindling in a teepee shape followed by larger logs.
Maintaining The Fire
- Air Flow: Ensure proper airflow to keep the fire burning.
- Add Fuelwood: Always have extra logs ready to maintain the fire.
Safety Tips
Ensuring safety while building a shelter is paramount. Here are few safety tips:
- Tool Safety: Always handle tools like knives and axes with care.
- Fire Safety: Never leave a fire unattended and have water or sand close by to extinguish it if needed.
- Structural Stability: Frequently check your shelter for structural integrity to avoid collapses.
Final Thoughts
Building a shelter with limited resources may seem daunting at first, but with the right approach and some handy tips, it’s entirely feasible. By understanding your environment, choosing a suitable shelter type, efficiently gathering materials, and following safe construction practices, you can create a cozy haven regardless of the circumstances. Remember, the key is to stay calm, think logically, and prioritize safety and sustainability. Happy building!
