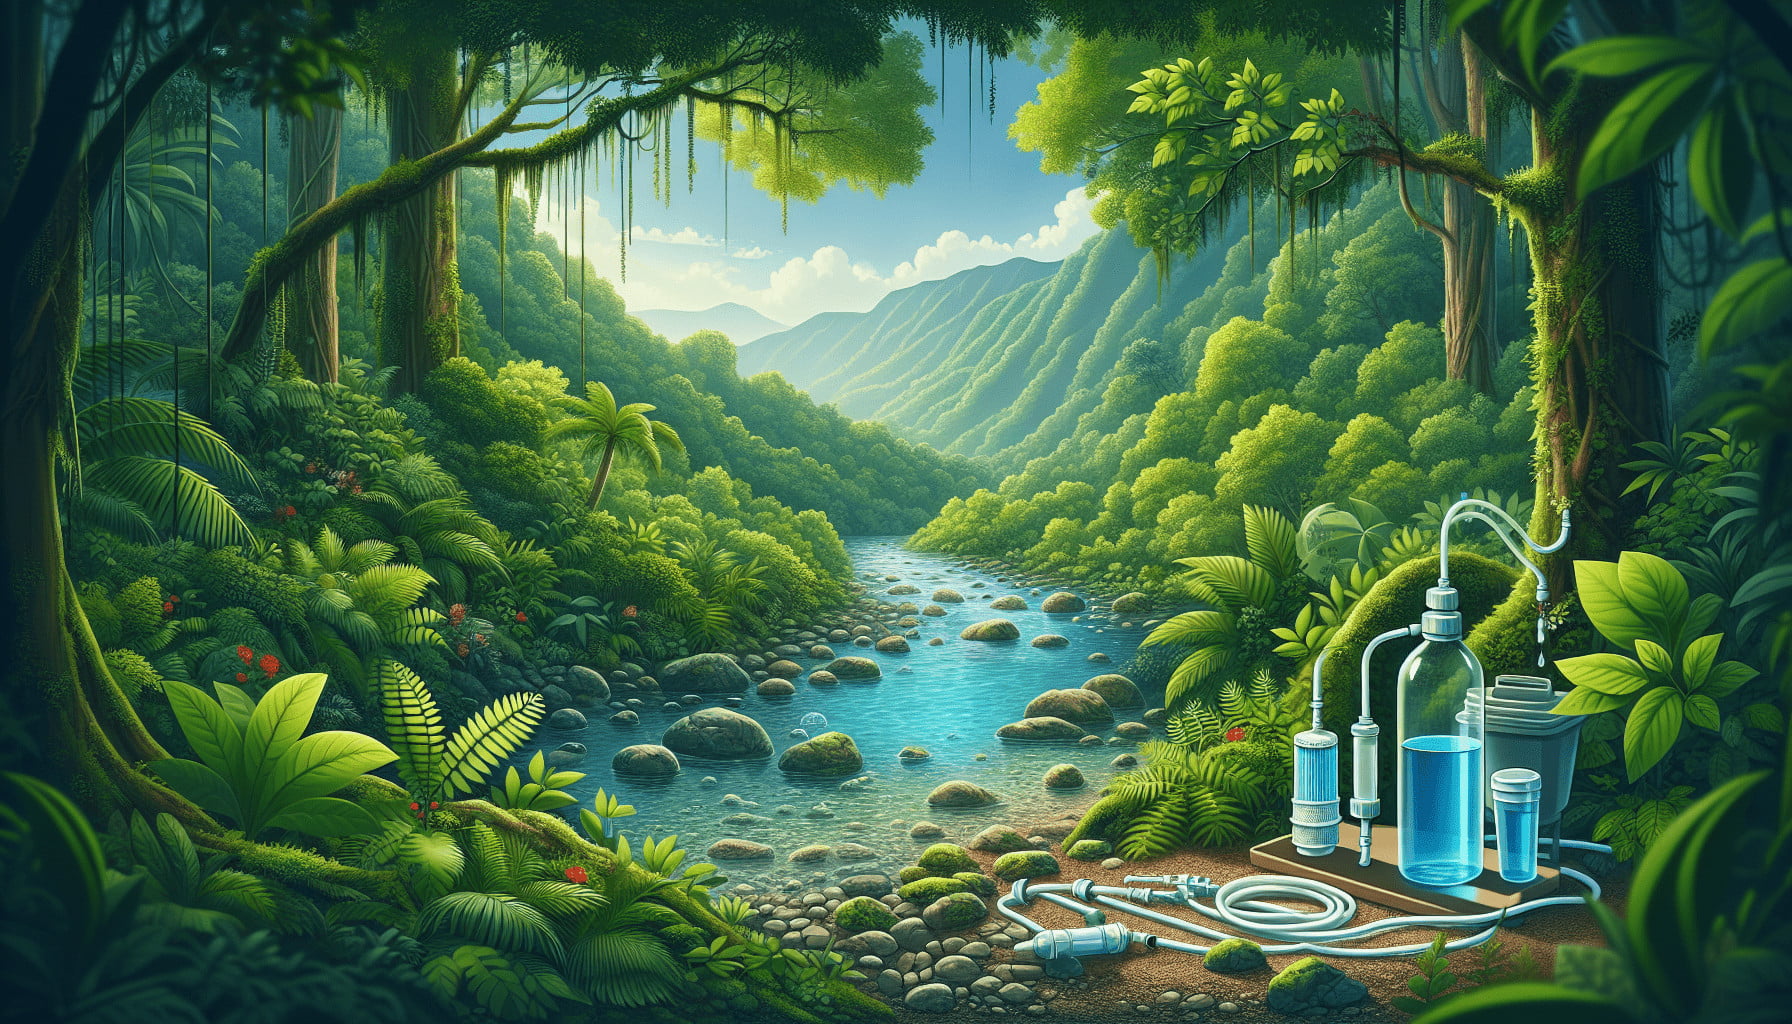
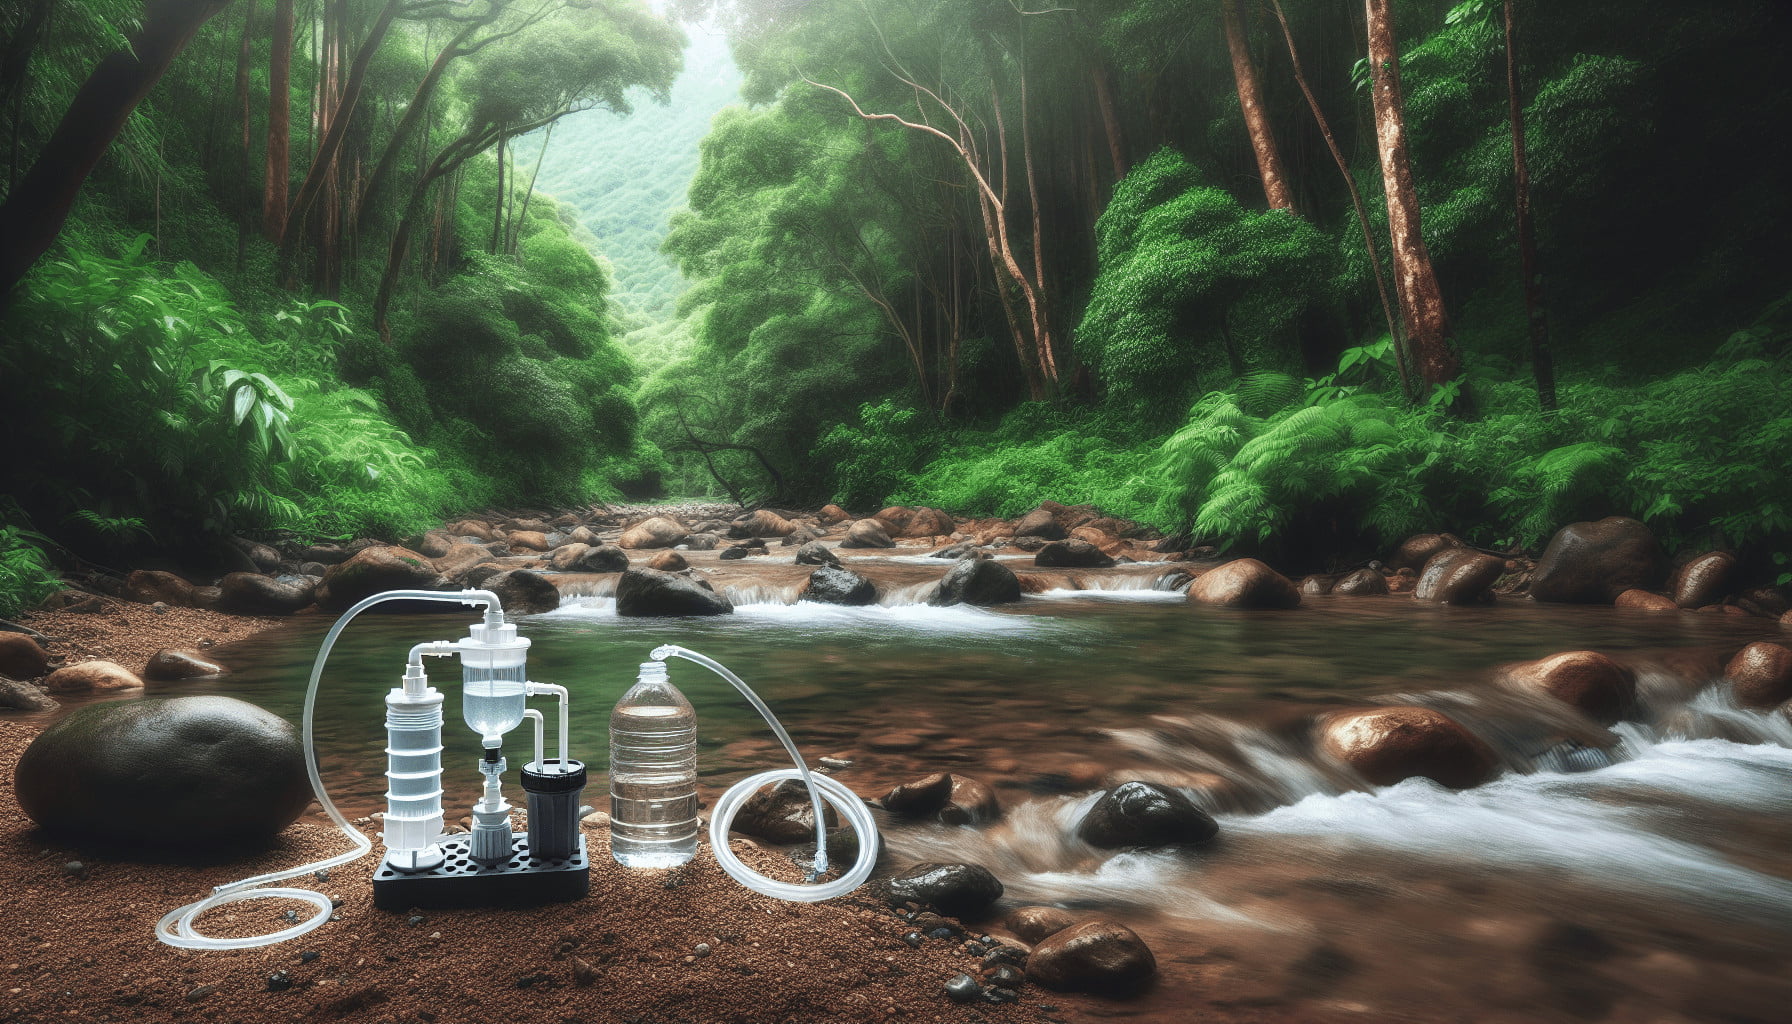
When you’re exploring the great outdoors, one of the most crucial skills to have is knowing how to make sure your water is safe to drink. In “Top Ways To Purify Water In The Wild,” you’ll discover practical and effective methods to ensure your hydration needs are safely met during your wilderness adventures. From boiling and filtration techniques to using chemical treatments and solar disinfection, this brief guide equips you with essential knowledge to confidently purify water from natural sources. Dive in, and learn how to keep your water clean and your spirits high while embracing the beauty of the wild.
Top Ways to Purify Water in the Wild
Have you ever been out hiking or camping in the middle of nowhere and realized you’re running low on water? It can be a pretty daunting situation, but don’t worry—knowing how to purify water in the wild can be a lifesaver, literally. So, let’s dive into the nitty-gritty details and arm you with the know-how to make sure you’re always hydrated and safe out there!

Why Purify Water?
Before jumping into the methods, let’s talk about why it’s crucial to purify water you find in the wild. Natural sources of water—like rivers, lakes, and ponds—might look clean, but they can carry harmful microorganisms, bacteria, viruses, and parasites. Drinking contaminated water can lead to a host of health issues, from diarrhea and vomiting to severe illnesses like giardia or dysentery.
Assessing Your Water Source
Not all water sources are created equal. Some may be relatively clean, while others can be breeding grounds for harmful organisms. Here’s how you can assess your water source:
- Running Water vs Stagnant Water: Flowing water like streams and rivers are generally cleaner compared to stagnant ponds or lakes.
- Location: Higher altitude sources are often safer than low-lying areas which may be contaminated by runoff.
- Visual Check: Look for clear water and avoid sources with a lot of sediment or a foul odor.
Boiling Water
Why Boiling Works
Boiling water is one of the most reliable ways to kill bacteria, viruses, and parasites. When water reaches its boiling point, these harmful organisms are destroyed, making it safe to drink.
How to Boil Water
- Collect Water: Gather water from your chosen source.
- Set Up Your Gear: Place your water in a pot or kettle.
- Boil: Place the pot on a heat source—campfire, portable stove, etc.
- Time It: Let the water boil for at least one minute. At higher altitudes (above 6,500 feet), extend the time to three minutes.
Pros and Cons
| Pros | Cons |
|---|---|
| Highly effective | Requires fuel and a heat source |
| Simple and straightforward | Takes time to cool |
| No special equipment needed | Not effective against chemical contaminants |
Filtration Systems
Types of Filters
There are various filtration systems designed to remove particles and pathogens from water. These systems often incorporate mechanical filters made of fibers or ceramics, and some also use activated charcoal.
Portable Water Filters
Portable water filters are compact, making them ideal for backpacking and camping. Brands like Sawyer, LifeStraw, and Katadyn offer filtering systems that can remove most bacteria, protozoa, and other contaminants.
Using a Portable Filter
- Attach Filter: Connect the filter to your water reservoir or directly to your water bottle.
- Pump/Drink: Follow the specific instructions for your filter—either pump the water through or drink directly.
Pros and Cons
| Pros | Cons |
|---|---|
| Lightweight and portable | Can clog and require cleaning |
| Quick and easy to use | Not always effective against viruses |
| Effective for multiple pathogens | Consumable parts may need replacement |

Chemical Purification
Types of Chemicals
Chemicals like iodine, chlorine, and chlorine dioxide can be used to purify water. These chemicals are capable of killing bacteria, viruses, and some protozoa.
Using Chemical Tablets
Water purification tablets are convenient and can be found at most outdoor stores. Here’s a general how-to:
- Collect Water: Gather your source water.
- Add Tablets: Follow the instructions on the package, generally, one tablet per liter of water.
- Wait: Allow the tablets to dissolve and wait the recommended time (usually 30 minutes to 4 hours).
Pros and Cons
| Pros | Cons |
|---|---|
| Lightweight and easily portable | Long wait time for effectiveness |
| Effective against a variety of pathogens | Can leave an unpleasant taste |
| No need for additional equipment | Ineffective against some protozoa |
UV Light Purification
How UV Purification Works
UV light purifiers use ultraviolet light to kill or inactivate harmful microorganisms in water. The UV light damages the DNA of these microorganisms, making them unable to reproduce.
Using a UV Light Purifier
- Collect Water: Fill your bottle with the source water.
- Activate Device: Turn on the UV purifier.
- Stir and Wait: Submerge the UV device and stir for the recommended time, usually about 1 minute.
Popular UV Purifiers
- SteriPEN: A widely-used handheld UV purifier.
- CamelBak UV Purifier: Integrates UV technology into a water bottle cap.
Pros and Cons
| Pros | Cons |
|---|---|
| Lightweight and portable | Requires batteries or recharging |
| Fast and effective | Not effective in cloudy water |
| No chemicals involved, so no taste impact |
Solar Water Disinfection (SODIS)
What is SODIS?
Solar Water Disinfection, or SODIS, uses the sun’s UV rays to disinfect water. It’s a method endorsed by the World Health Organization (WHO) for purifying small quantities of water.
How to Perform SODIS
- Clear Bottles: Find clear plastic or glass bottles (PET bottles work well).
- Collect Water: Fill the bottle with clear water.
- Expose to Sunlight: Place the bottle in direct sunlight for at least 6 hours.
- Wait: After 6 hours, the water is generally safe to drink.
Pros and Cons
| Pros | Cons |
|---|---|
| Simple and cost-effective | Requires clear, sunny conditions |
| No chemicals or equipment needed | Long waiting period |
| Effective against bacteria and viruses | Ineffective in cloudy water |
Distillation
What is Distillation?
Distillation involves heating water to create steam and then condensing that steam back into liquid form, leaving most contaminants behind.
How To Distill Water
- Set Up: Use a pot with a lid, a small cup or bowl, and some aluminum foil.
- Heat Source: Place the pot on a heat source.
- Collect Steam: Position the small cup in the pot such that it doesn’t touch the pot’s bottom and can collect the steam.
- Cool Condensation: Use the inverted pot lid with some foil to direct the steam into the cup.
Pros and Cons
| Pros | Cons |
|---|---|
| Removes a variety of contaminants | Time-consuming |
| Effective even against heavy metals | Requires specialized setup |
| No chemical taste | Needs a significant amount of fuel |
Improvised Methods
When you’re in a pinch, you might have to rely on unconventional methods to make water drinkable.
Creating a Basic Filter
You can fashion a basic filter using natural materials like sand, charcoal, and gravel:
- Container: Use a bottle or a hollowed-out log.
- Filter Layers: Layer sand, charcoal, and gravel inside the container.
- Pour Water: Pour the collected water through the layers.
Pros and Cons
| Pros | Cons |
|---|---|
| Materials are often readily available | Not entirely effective—still needs boiling or chemicals |
| Easy to set up | Can take time to build comparative to other methods |
Combining Methods
Sometimes, combining multiple purification methods can offer better results. For example, using a filter first and then applying chemical disinfection or UV treatment can double down on the purification process.
Example Combo
- Filter First: Use a portable filter to remove large particles and contaminants.
- Chemical Treatment: Add purification tablets to kill remaining pathogens.
- Optional UV Treatment: Finally, use a UV purifier for an extra layer of safety.
Conclusion
Whether you’re a seasoned adventurer or a newbie hiker, knowing how to purify water in the wild is an essential skill that can keep you healthy and safe. Each of these methods comes with its own set of advantages and drawbacks, so it’s a good idea to familiarize yourself with multiple techniques. That way, you’ll be prepared for any situation nature throws your way.
Remember, when it comes to staying hydrated in the wild, safety should always be your top priority. Happy adventuring, and stay safe out there!
