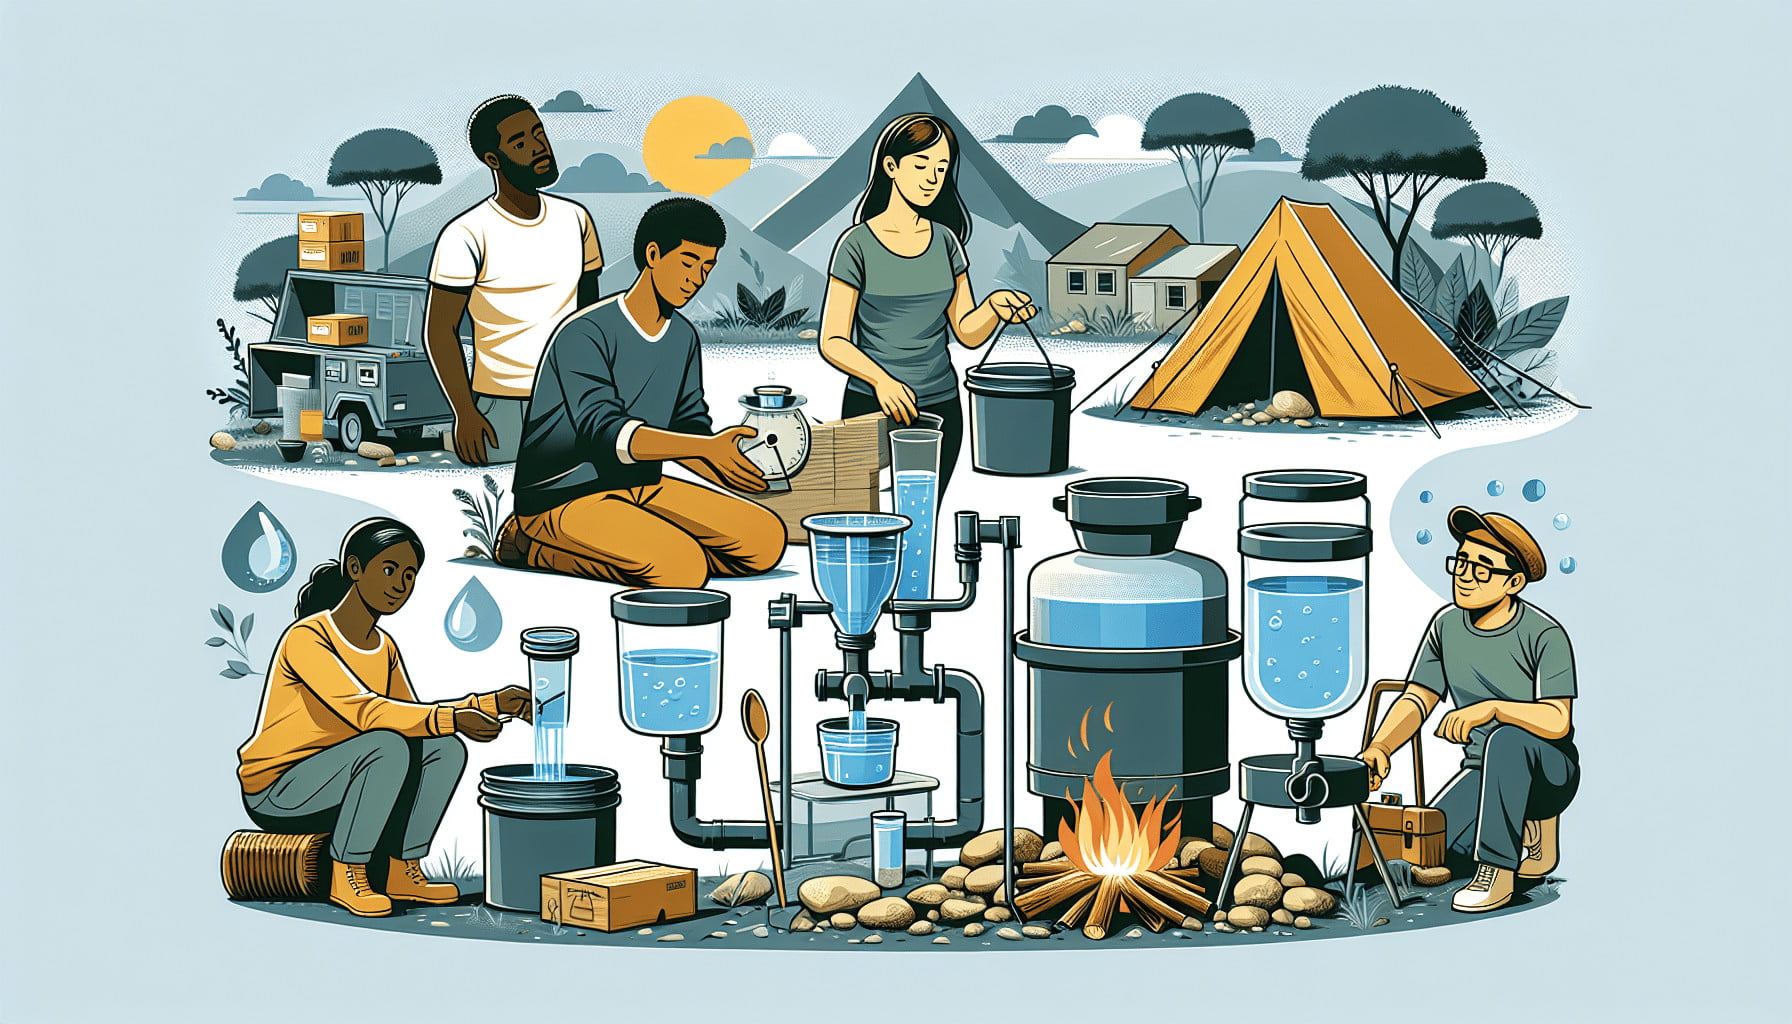
So, you want to be prepared for any emergency that may come your way, huh? Well, one crucial aspect of emergency preparedness is having access to clean, drinkable water. In this article, we’ll discuss the various methods you can use to purify water in case of an emergency. From boiling to filtering and using chemical treatments, we’ll cover it all. So, buckle up and get ready to learn how to ensure your water is safe to drink when times get tough.

Boiling
What is boiling?
Boiling is a simple and effective method of purifying water that has been used for centuries. It involves heating the water to its boiling point, which is typically around 100 degrees Celsius (212 degrees Fahrenheit) at sea level. This process kills or inactivates most types of microorganisms, including bacteria, viruses, and parasites, making the water safe for consumption.
How does boiling purify water?
Boiling water kills microorganisms by raising its temperature to a point where they cannot survive. When water reaches its boiling point, the heat causes the microorganisms’ proteins and other vital structures to denature and become non-functional. As a result, the harmful pathogens are effectively neutralized, and the water becomes safe to drink.
Steps to boil water for emergency preparedness
To boil water for emergency preparedness, follow these simple steps:
- Start by filling a clean pot with water from a reliable source, such as a tap or a stored water container.
- Place the pot on a heat source, such as a stove or a campfire, and turn the heat to high.
- Wait for the water to reach a rolling boil, where bubbles are vigorously forming and rising to the surface.
- Once the water has reached a rolling boil, continue boiling it for at least one minute to ensure all harmful microorganisms are killed.
- Turn off the heat and let the water cool before transferring it to a clean, covered container for storage.
- It is important to note that in high-altitude areas where water boils at a lower temperature, it is recommended to boil the water for at least three minutes to ensure proper disinfection.
Boiling water is a reliable and accessible method of purifying water during emergencies when other purification methods may not be available. It is important to remember that boiling only eliminates microorganisms and does not remove chemical contaminants or other impurities from the water.
Chemical Disinfection
What is chemical disinfection?
Chemical disinfection is a process that uses specific chemicals to kill or inactivate harmful microorganisms in water. This method is commonly employed when boiling water is not feasible or convenient. Chemical disinfection is an effective way to make water safe to drink, as long as the appropriate chemicals and procedures are followed.
Common chemicals used for water disinfection
Several chemicals can be used for disinfecting water, including chlorine, iodine, and water purification tablets. Each chemical has its own advantages and considerations, but they all work by effectively neutralizing microorganisms present in the water.
- Chlorine: Chlorine-based products, such as liquid chlorine bleach or chlorine tablets, are commonly used for water disinfection. The chlorine reacts with microorganisms, including bacteria and viruses, destroying their cellular structures and rendering them harmless.
- Iodine: Iodine solutions or tablets can also be used to disinfect water. Iodine works by penetrating the cell walls of microorganisms and interfering with their metabolic processes, ultimately killing them.
- Water Purification Tablets: Water purification tablets usually contain a combination of chemicals, such as chlorine or iodine, that are specifically formulated to effectively disinfect water. These tablets are convenient and portable, making them ideal for emergency situations.
Steps to chemically disinfect water for emergency preparedness
If you need to chemically disinfect water during an emergency, here are the steps to follow:
- Start by filtering the water through a clean cloth or coffee filter to remove any visible particles and sediment.
- Read and follow the instructions provided with the specific chemical disinfection product you are using, whether it is chlorine bleach, iodine solution, or water purification tablets.
- Measure the appropriate amount of the chemical disinfectant as directed by the product instructions. This may vary depending on the volume of water you are treating.
- Add the measured disinfectant to the water, ensuring it is thoroughly mixed.
- Allow the water to sit undisturbed for the recommended contact time specified by the product instructions. This contact time allows the disinfectant to effectively kill the microorganisms in the water.
- After the required contact time, the water should be safe to drink. However, if the water has a strong chemical taste or odor, you can improve its taste by pouring it back and forth between clean containers or by using activated charcoal filters.
Chemical disinfection is an effective method for purifying water during emergencies, but it is important to carefully follow the recommended dosages and contact times specified by the product instructions. Additionally, some people may have allergies or sensitivities to certain disinfectants, so it is advisable to consider alternative methods for those individuals.
Filtration
What is filtration?
Filtration is a water purification method that involves passing water through a porous material to remove impurities, such as sediment, particles, and some microorganisms. This process helps improve the clarity and quality of water, making it safer for consumption.
Types of water filters for emergency preparedness
There are various types of water filters available for emergency preparedness, each designed to remove different sizes and types of impurities. Some common types of water filters include:
- Activated Carbon Filters: These filters use a highly porous form of carbon to absorb and trap contaminants, including chlorine, volatile organic compounds (VOCs), and unpleasant odors and tastes.
- Ceramic Filters: Ceramic filters have tiny pores that block the passage of bacteria, parasites, and larger particles, effectively purifying the water. Some ceramic filters can be cleaned and reused multiple times.
- Reverse Osmosis Filters: Reverse osmosis filters use a semipermeable membrane to separate impurities from water. They can remove a wide range of contaminants, including dissolved salts, heavy metals, and certain chemicals.
- Portable Water Filters: These compact filters are designed for use during outdoor activities or emergencies. They often combine multiple filtration methods, such as activated carbon and ceramic, to provide comprehensive purification.
- Gravity Filters: Gravity filters rely on the force of gravity to pull water through a filter medium, usually activated carbon or ceramic. These filters are simple to use and require no power source, making them ideal for emergency situations.
Steps to filter water for emergency use
If you need to filter water for emergency use, here are the general steps to follow:
- Start by selecting an appropriate water filter based on the available options and the specific impurities you need to remove.
- Carefully read and follow the manufacturer’s instructions for assembling and preparing the filter.
- Set up the filter according to the instructions, ensuring that all connections are secure and the filter is stable.
- Before filtering, it is advisable to pre-filter the water by passing it through a clean cloth or coffee filter to remove any visible particles and debris.
- Pour the pre-filtered water into the filter’s input chamber or attach a hose to the water source if applicable.
- Allow the water to pass through the filter, ensuring it collects or flows into a clean container.
- Once the filtration process is complete, carefully disconnect the filter from the water source and clean and store the filter as recommended by the manufacturer.
Filtration helps remove impurities and some microorganisms, making the water clearer and safer to drink. However, it is important to note that filtration methods may vary, and some filters may not be able to eliminate certain contaminants like viruses. Therefore, it is crucial to choose a filter that suits your specific needs and verify its effectiveness against the targeted contaminants.
Ultraviolet (UV) Treatment
What is UV treatment?
Ultraviolet (UV) treatment is a water purification method that utilizes ultraviolet light to disinfect water. It is a highly effective and chemical-free process for killing or deactivating a wide range of microorganisms, including bacteria, viruses, and parasites.
How does UV treatment purify water?
UV treatment relies on the use of UV-C light, which has a wavelength between 200 and 300 nanometers, to inactivate microorganisms. When water is exposed to UV-C light, the light energy penetrates the microorganisms’ cells and damages their genetic material, interfering with their ability to reproduce and survive. This effectively renders the microorganisms harmless and prevents them from causing illness.
Steps to use UV treatment for emergency water purification
If you need to use UV treatment for emergency water purification, follow these steps:
- Start by removing any visible particles or sediment from the water by using a clean cloth or coffee filter.
- Ensure that the UV water treatment device you are using is in good working condition and has the required batteries or power source.
- Follow the manufacturer’s instructions to assemble and prepare the UV treatment device.
- Fill a clean container with the water you need to treat, leaving enough space at the top to prevent spillage during the treatment process.
- Immerse the UV treatment device into the water, making sure it is fully submerged.
- Activate the UV treatment device according to the manufacturer’s instructions, typically by pressing a button or turning a switch.
- Allow the device to treat the water for the recommended amount of time, which can range from a few seconds to a minute or more.
- After the treatment time has elapsed, remove the device from the water and ensure it is properly cleaned and stored as per the manufacturer’s guidelines.
- The water treated with UV light should now be safe to drink. However, it is important to note that UV treatment does not remove chemical contaminants or impurities from the water.
UV treatment offers a convenient and efficient method of water purification, particularly during emergencies where access to electricity or chemicals may be limited. It is important to check the manufacturer’s specifications to determine the device’s effectiveness and capacity for treating water.

Reverse Osmosis
What is reverse osmosis?
Reverse osmosis (RO) is a water purification process that utilizes a semipermeable membrane to remove impurities, contaminants, and dissolved solids from water. It is a widely recognized and reliable method of purifying water, capable of eliminating a wide range of contaminants.
How does reverse osmosis purify water?
Reverse osmosis purifies water through a process called permeation. The semipermeable membrane used in the system allows water molecules to pass through while blocking larger molecules, sediments, and impurities. The pressure applied to the water forces it through the membrane, leaving behind contaminants in the reject stream. The purified water is collected and made available for consumption.
Steps to purify water using reverse osmosis for emergency preparedness
To purify water using reverse osmosis for emergency preparedness, follow these steps:
- Start by connecting the reverse osmosis system to a suitable water source, such as a tap or a container holding the water to be treated.
- Ensure that the system’s storage tank is properly connected and that all necessary filters and membranes are in place.
- Turn on the water supply to the reverse osmosis system and allow it to flow through the filters and membranes.
- The system will remove sediments and larger particles through pre-filters before reaching the semipermeable membrane.
- As the water passes through the semipermeable membrane, impurities, dissolved solids, and contaminants are removed, while purified water collects in the storage tank.
- Once the storage tank is filled with purified water, turn off the water supply to the reverse osmosis system.
- The purified water can now be accessed and used for emergency purposes. It is important to ensure the storage tank remains clean and covered to prevent recontamination.
Reverse osmosis offers a reliable and effective method for purifying water during emergencies. It is important to note that reverse osmosis systems typically require power to operate, so alternative arrangements should be made in case of power outages.
Solar Water Disinfection
What is solar water disinfection?
Solar water disinfection, also known as SODIS, is a water purification method that utilizes solar energy to kill or inactivate harmful microorganisms. It is a simple and low-cost technique that can be particularly useful in situations where other purification methods are unavailable.
How does solar water disinfection work?
Solar water disinfection takes advantage of the sun’s ultraviolet (UV) rays and the heating effect of solar energy to purify water. The process involves exposing clear PET (polyethylene terephthalate) bottles filled with water to sunlight for a specified period.
- The UV-A rays present in sunlight penetrate the water and damage the DNA and cellular structures of microorganisms, rendering them harmless.
- Additionally, the solar energy heats the water, further aiding in the inactivation of pathogens.
Steps to disinfect water using solar energy for emergency preparedness
To disinfect water using solar energy for emergency preparedness, follow these steps:
- Start by selecting clear PET bottles or other suitable transparent containers for disinfection.
- Fill the bottles with the water to be disinfected, leaving a small air gap at the top to allow for expansion as the water heats.
- If the water is visibly turbid or cloudy, it is advisable to pre-filter it through a clean cloth or coffee filter to remove sediment and particles.
- Place the filled bottles in a sunny location where they can receive direct sunlight for a minimum of six hours.
- If the weather is partly cloudy or the sunlight is limited, it may be necessary to extend the exposure time to ensure effective disinfection.
- During the exposure period, it is important to ensure that the bottles are not shaded or covered by any objects that could obstruct the sunlight.
- After the recommended exposure time, carefully remove the bottles from the sunlight and store them in a cool, shaded area to prevent recontamination.
- The water can now be considered safe to drink. It is recommended to pour the water into a clean container and avoid disturbing any settled sediment or debris.
Solar water disinfection is a useful method for emergency water purification, particularly in areas where access to conventional disinfection methods may be limited. It is important to note that SODIS is most effective against microbiological contaminants and does not remove chemical pollutants or impurities from the water.

Distillation
What is distillation?
Distillation is a water purification process that involves boiling water and then collecting the resulting steam, which is condensed back into liquid form. The process effectively removes most impurities, including microorganisms, dissolved solids, and some chemical contaminants, from the water.
How does distillation purify water?
Distillation purifies water by separating it from impurities through the processes of evaporation and condensation. When water is heated to its boiling point, it turns into steam, leaving behind most contaminants. The resulting steam is then collected, cooled, and condensed back into a liquid form, producing purified water.
Steps to purify water through distillation for emergency use
To purify water through distillation for emergency use, follow these steps:
- Start by filling a clean pot or container with water from a reliable source.
- Place a heat-resistant bowl or cup in the center of the pot, ensuring that it is smaller in size than the pot’s opening and that it does not touch the water.
- Tightly cover the pot with a lid, making sure there are no gaps or openings.
- Place the pot on a heat source, such as a stove or a campfire, and turn the heat to high.
- As the water in the pot reaches its boiling point, steam will start to rise and collect on the inside of the lid.
- The steam will condense on the lid, forming droplets, and eventually, the droplets will roll down into the heat-resistant bowl or cup placed in the pot’s center.
- Allow the distilled water to cool before transferring it to a clean, covered container for storage.
Distillation provides an effective method of water purification, as it removes a broad range of impurities, including microorganisms and many dissolved contaminants. However, it is important to note that the distillation process is relatively slow and requires a heat source and the necessary equipment to collect the condensed steam.
Activated Charcoal
What is activated charcoal?
Activated charcoal, also known as activated carbon, is a highly porous form of carbon that has undergone a special treatment to increase its adsorption properties. It is commonly used in water purification as a filtration medium to remove impurities, chemicals, and odors from water.
How does activated charcoal purify water?
Activated charcoal works through a process called adsorption, where impurities and contaminants adhere to the surface of the charcoal. The porous structure of activated charcoal provides a large surface area, allowing it to trap and bind various substances present in water. This effective adsorption capability helps remove organic compounds, chlorine, certain chemicals, and unpleasant tastes and odors from the water.
Steps to use activated charcoal for emergency water purification
To use activated charcoal for emergency water purification, follow these steps:
- Start by obtaining activated charcoal in the form of granules, pellets, or carbon filters designed for water purification.
- Ensure that the activated charcoal is clean and free from any contaminants or chemicals that could impact its effectiveness.
- If using loose activated charcoal, tie it in a clean cloth or place it in a fine mesh bag to prevent it from entering the purified water.
- Pour the water to be purified through the cloth or bag containing the activated charcoal.
- Allow sufficient contact time for the water to pass through and interact with the charcoal, ideally a few minutes to ensure maximum adsorption.
- Collect the purified water in a clean container, ensuring it is protected from recontamination.
Activated charcoal offers an effective and accessible method for emergency water purification, particularly in situations where other filtration methods may not be available. While it is effective at removing many impurities, it is important to note that activated charcoal does not remove all contaminants, such as heavy metals or dissolved salts.

Emergency Water Purification Tablets
What are emergency water purification tablets?
Emergency water purification tablets are small, portable, and pre-packaged tablets containing specific chemicals that aid in disinfecting and purifying water. These tablets are commonly used during emergencies, outdoor activities, or in situations where access to clean water is limited.
How do water purification tablets work?
Water purification tablets typically contain chemicals, such as chlorine dioxide or iodine, that are released into the water when added. These chemicals work by disinfecting the water and killing or inactivating harmful microorganisms present in the water. The tablets provide a convenient and portable solution for emergency water purification.
Steps to use water purification tablets for emergency preparedness
To use water purification tablets for emergency preparedness, follow these steps:
- Start by selecting water purification tablets that are suitable for the volume of water you need to treat. Read and follow the instructions provided by the manufacturer.
- If the water is visibly turbid or contains visible particles, pre-filter it using a clean cloth or coffee filter to remove sediment and debris.
- Add the recommended number of water purification tablets to the water, according to the product instructions. The dosage may vary based on the tablet’s strength and the volume of water being treated.
- Ensure that the tablets dissolve completely in the water. Some tablets may require stirring or shaking to aid the dissolution process.
- Allow the water and tablets to sit undisturbed for the specified contact time, typically ranging from 15 minutes to several hours. This contact time allows the tablets to effectively disinfect the water.
- Once the recommended contact time has elapsed, the water should be safe to drink. However, if the water has a strong chemical taste or odor, you can pour it back and forth between clean containers to improve its taste.
Water purification tablets offer a convenient and reliable solution for emergency water purification. They are lightweight, easily portable, and do not require additional equipment or power sources. It is important to follow the manufacturer’s instructions and dosage recommendations to ensure effective disinfection.
Rainwater Harvesting
What is rainwater harvesting?
Rainwater harvesting is the process of collecting and storing rainwater for various purposes, including emergency use. It involves capturing rainwater from rooftops or other surfaces and channeling it into storage containers or tanks for later use.
Methods of collecting and storing rainwater for emergency use
There are various methods of collecting and storing rainwater for emergency use, depending on the available resources and space. Some common methods include:
- Rain Barrels: Rain barrels are large containers used to collect rainwater from rooftops. They are typically placed beneath downspouts or gutter systems and equipped with a screen or filter to prevent debris from entering the barrel. Once collected, the rainwater can be accessed and used during emergencies.
- Underground Cisterns: Underground cisterns are reservoirs or tanks built underground to store rainwater. They are often larger in size and require professional installation. The collected rainwater can be accessed through pumping systems or gravity flow.
- Ferro-Cement Tanks: Ferro-cement tanks are constructed using a wire mesh and cement mortar mixture. These tanks are durable, cost-effective, and can be built in various sizes to accommodate different water storage needs.
- Flexible Rainwater Storage Containers: Flexible rainwater storage containers, such as water bladders or collapsible tanks, are portable, foldable containers designed to store rainwater. They are ideal for emergency use in situations where space or mobility is a concern.
- Roof-Harvesting Systems: Roof-harvesting systems involve modifying roof surfaces to collect rainwater effectively. This includes installing gutter systems, downspouts, and filters to redirect rainwater into storage tanks or containers.
Steps to purify harvested rainwater for emergency preparedness
To purify harvested rainwater for emergency preparedness, follow these steps:
- Start by filtering the harvested rainwater through a series of filters, such as screens, meshes, or sediment filters, to remove debris, leaves, and other large particles.
- Once the water is pre-filtered, proceed with one of the previously mentioned purification methods, such as boiling, chemical disinfection, or filtration, to further purify the harvested rainwater.
- Choose the most appropriate purification method based on the available resources, the specific requirements of the harvested rainwater, and the potential microorganisms or contaminants present.
Purifying harvested rainwater is crucial to ensure its safety and potability during emergencies. It is important to regularly clean and maintain the rainwater collection and storage systems to prevent the proliferation of algae, bacteria, or other contaminants.
In conclusion, ensuring access to clean and safe drinking water is essential during emergencies. Boiling, chemical disinfection, filtration, UV treatment, reverse osmosis, solar water disinfection, distillation, activated charcoal, water purification tablets, and rainwater harvesting are all viable methods for purifying water in emergency situations. It is important to understand the specific steps and considerations associated with each method to ensure effective water purification and protect against potential health risks. By being prepared and knowledgeable about these methods, you can confidently provide yourself and your loved ones with a reliable source of purified water during emergencies.
